
Disk - Shrink MacBook Pro Harddisk Partition And Add to Windows
If you want to transfer some disk space from MacBook Pro partition to Windows partition, you can try the following
1) In your MacBook Pro, Open "Disk Utility" and click on the Partition button as follows

2) Click on Partition you want to resize. For me, I am resizing the "Macintosh HD" partition from 548GB to 200.6GB.

3) Once done, click on Apply button and the resizing process will begin

4) When the resize process completed, you can restart your laptop into Windows
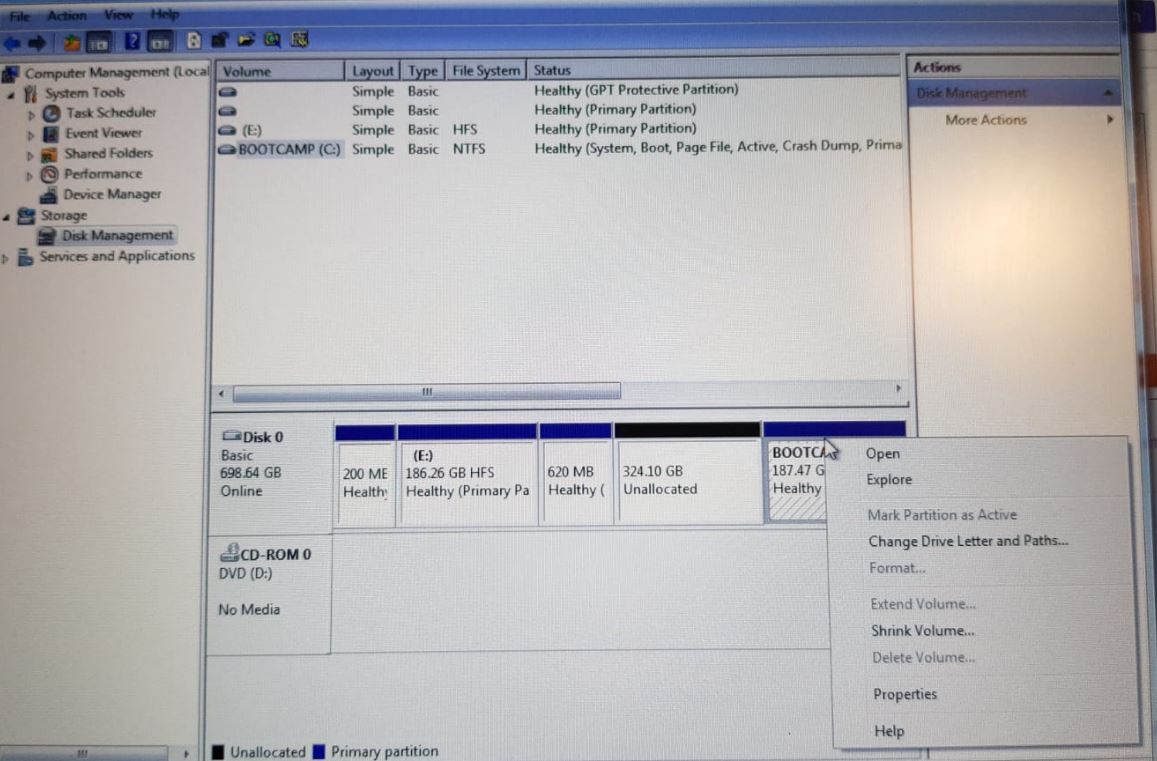
5) Next, log into your Windows and open "Computer Management"
6) You could use the "Extend Volume" option if available. For me, it was grey out because the unused partition is before the NTFS partition. "Extend Volume" will only available if the partition is immediately after the disk volume which you are trying to extend.
7) Since I am unable to use the "Extended Volume" option, I need a 3rd party partition software. For this, I had selected a freeware - "EaseUs Partition Master Home Edition". Next, launch the application. Select the partition and click "Resize/Move"

8) Adjust the partition to your desire size

9) Once adjusted, click Ok

10) Then, click "Execute 1 Operation". The system will reboot.

11) During rebooted, it will adjust the partition. And the system will reboot once the process complete.

12) Now, there is a high chance that your Windows cannot be reboot because the Windows partition boot sector had been modified and adjusted. You will need to use your Windows installation disc to repair the Master Boot Sector. Once the Master Boot Sector is repaired, you should be able to log into Windows with the extends disk size.

Comments
Post a Comment